A modern twist on a classic look.
Board & Batten
Add visual interest to your space with this simple board and batten!
-
1x2 Primed Pine
Wood Filler
Caulk
Sandpaper
Nail Gun and Nails (at least 1 1/2" long)
Primer and Paint (I used eggshell)
If you do not have baseboards and crown molding that you are keeping:
1x6 Primed Pine for Baseboards
Quarter Round Molding
Crown Molding (I used 1x6 for this as well)
-
Saw (jigsaw, miter or circular to cut boards to length)
Nail Gun
Level
-
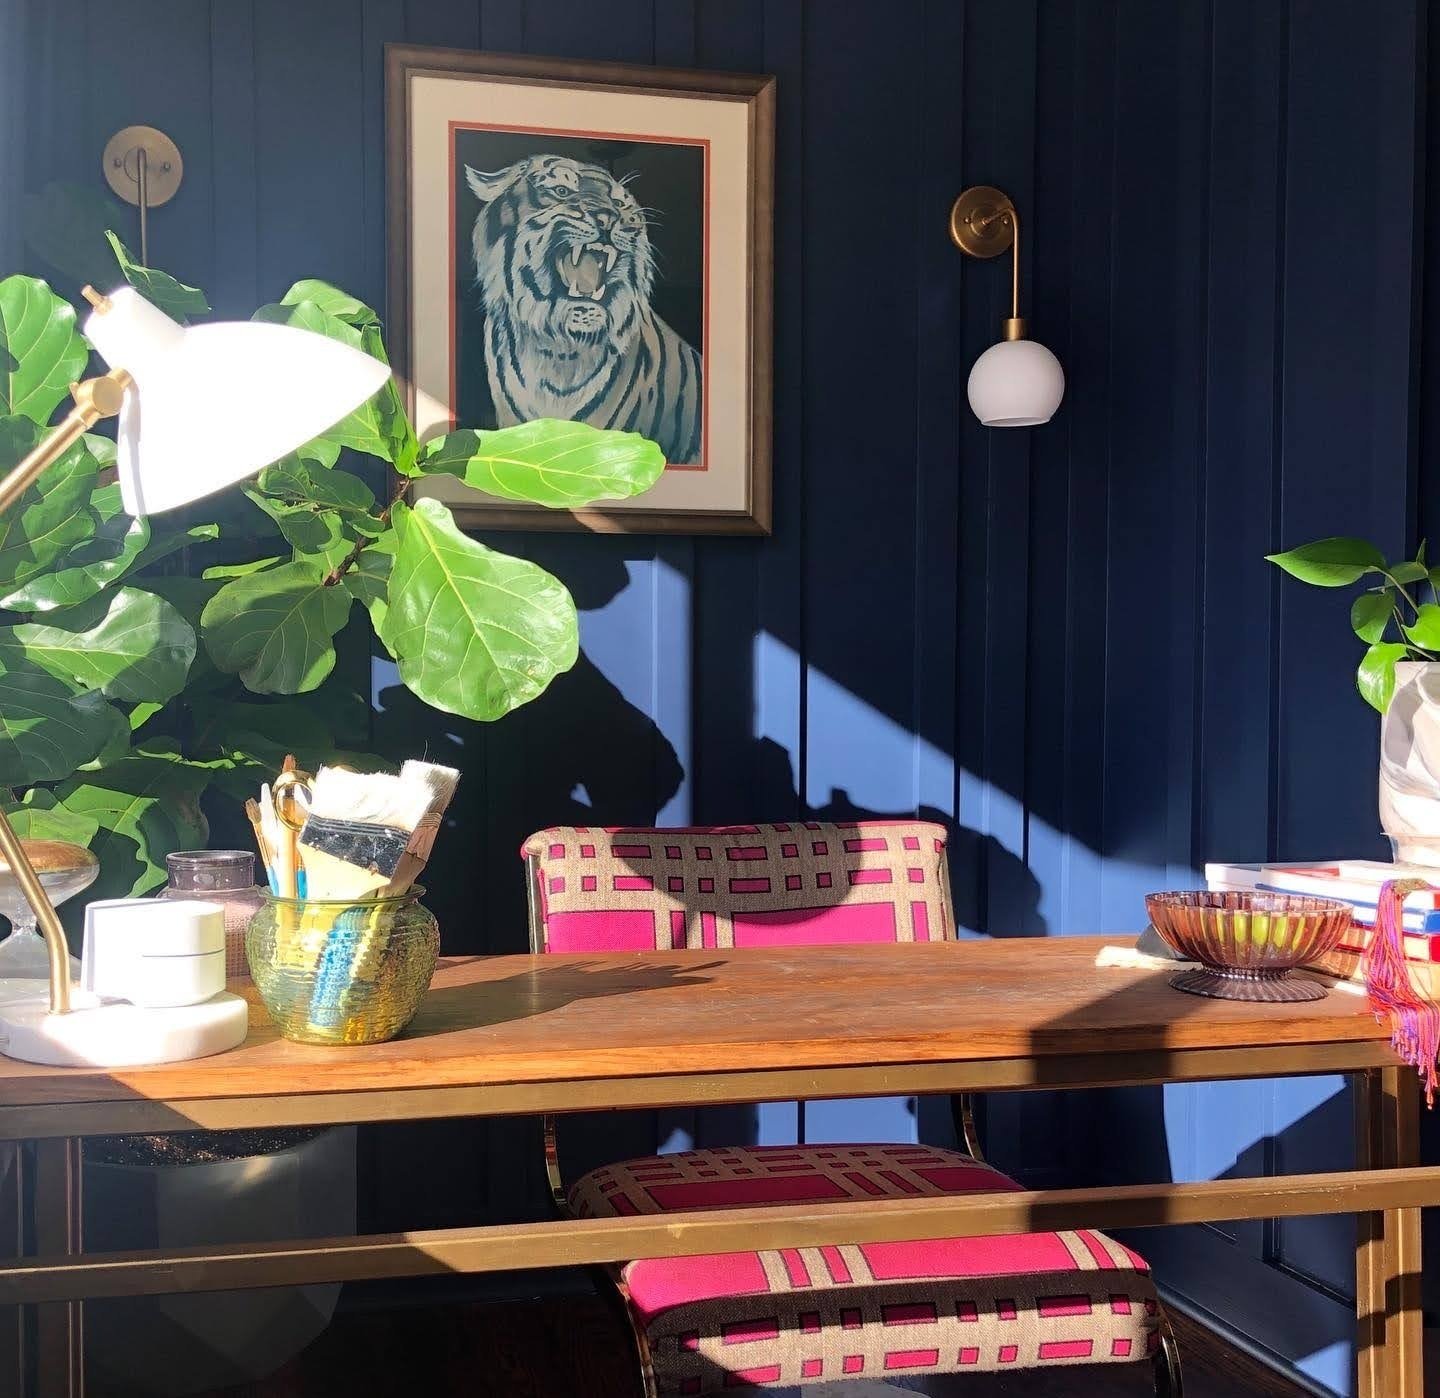
Traditional board and batten uses both battens (the skinny vertical trim pieces) and boards placed between the batten (hence the name). For this tutorial, we won't be installing boards. If you have relatively smooth drywall, you can achieve the same look using only the battens.
-

Determine Spacing Between Boards
The goal of this project was to cover the grooved detail on the original wood paneling in this room. I selected boards that were wide enough to hide the grooves and covered them up. If you're adding board and batten to drywall, you can measure your wall and divide it into equal sections depending on how wide or narrow you'd like the space between your battens to be. Make sure your batten spacing will accommodate any windows, doors, outlets, air vents, etc.
-

Cut and Attach Trim then Batten
I recommend installing your baseboards and crown first to ensure the batten fits tight between the two. To save time and trips to the saw, I like to measure and cut all of the pieces for a whole wall at one time. Once you have your pieces cut, attach them to your wall using a nail gun and nails that are long enough to go through the battens and drywall. A level is your best friend during this step! Any battens that are slightly off from top to bottom will be extremely obvious due to the number of verticals lines in the space.
-

Caulk or Fill, Prime and Paint
Caulking between the batten and the board (or drywall) and filling nail holes with wood filler is what really makes this project look polished and professional! This step took a very, very long time but it was absolutely worth it. Don't forget to sand your wood filler once dried - start with the lowest grade (80 or 120) then finish with a higher grade (220). I skipped primer since I kept the same color and my boards were pre-primed, but would recommend it otherwise. Then paint and you're done!